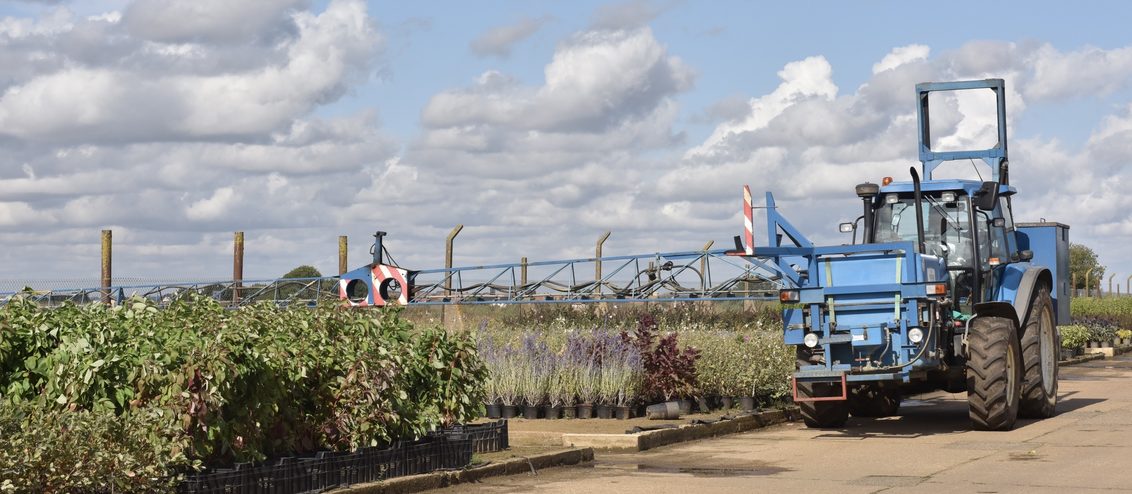
Time to get your sprayer ready for the season
Time to get your sprayer ready for the season
What are the key points to check on my sprayer?
Even though crop protection is a year-round job, particularly in the greenhouse or polytunnel, this is traditionally the time of year for a thorough check of your spraying equipment to make sure it’s working safely and efficiently for the coming season.
A well-maintained sprayer, correctly set-up, is essential for accurate application, so you not only get the best and most cost-effective control with minimal waste, you avoid risks to the operator, any bystanders and the environment. Whether it’s a pistol, lance or pedestrian-operated short boom; knapsack or mounted equipment, your spray kit should be fully inspected and calibrated regularly by a competent person.
For some years now, some sprayers have had, by law, to pass a regular ‘MoT’ test under the National Sprayer Testing Scheme (NSTS)[ https://www.nsts.org.uk]: small boom sprayers up to 3m wide, and equipment such as slug pellet and micro-granule applicators (a first test before they are five years old, then every six years; sprayers with booms wider than 3m and orchard-style air-blast sprayers (first test before five years old, then every three years).
A formal test is not mandatory for knapsack, hand-held and pedestrian equipment but these must still be inspected routinely by a competent person, and a record kept, to comply with legislation.
I want to highlight here the key elements of your pre-season checks and maintenance – with links back to earlier blogs where you can find more detail.
Pre-season checks
Take a look at our previous blog – Don’t forget your pre-flight sprayer checks
First, make sure the tank is empty, clean and depressurised
Check components individually, eg tank, filters, hoses etc for cleanliness and condition
Inspect nozzles for deposits and wear or damage, clean, or replace if in doubt
Blog on tips for longer nozzle life
Check pressure gauge for damage; the needle should sit at zero
Straps on knapsack sprayers should be clean, secure and free from wear
Fill tank with clean water and check for leaks
If there are no leaks, pressurise the sprayer to check pump and gauge operation. Recheck for leaks
Operate the sprayer into a container to check its on-off mechanism and anti-drip valves are working correctly
Check flow rate against manufacturer’s data
While it’s important to make a routine of these detailed equipment checks at the start of the season, please don’t fall into the trap of assuming you can do it the once and then forget all about it.
Many of the most important checks – dripping seals, split hoses, damaged tanks and the like – pose a risk not only to your crop but also to your operator and the environment. Every time you use a sprayer you should at least visually inspect, and look for leaks. Just dropping a pistol or lance can damage a nozzle so keep enough spares in store.

Calibration
Applying the correct dose of the products you use depends on being able to spray accurately a known volume over a given area of the crop.
That comes from accurate calibration, which should be integral to your pre-season check and set-up routine. The principles are the same whatever the type of sprayer: you’re measuring the amount of spray emitted over a set time and combining that with a calculation of the time taken to cover a known area.
I won’t go into the details here as we’ve covered it in earlier blogs.
With hand-held equipment your walking speed is a key factor so choose a pace you know you can maintain and which allows for the type of crop, the layout of the beds and any obstructions such as greenhouse stanchions – and don’t forget if different operators use the same sprayer they’ll need to calibrate it to their own pace.
Nozzles
Nozzle wear is one of the main causes of failure under the National Sprayer Testing Scheme. Just 10% wear to an orifice will lead to poor coverage, loss of uniformity, inaccurate dosing, the risk of poor control or crop damage, and wastage. If in any doubt, replace the nozzle: the cost is small compared to the consequences from using a worn one.
It’s good practice to remove and clean nozzles after every use. Simply soaking in water is enough to prevent residue build-up. If necessary, clean orifices with a soft brush or air-line, never pins or wire which will ruin the machined surfaces inside.
Carry spare nozzles when spraying so you can quickly do a swap, rather than attempt to remove any blockages on the job.
I’ve said before that I’m frequently surprised, given the range of species grown by most nurseries, how often I find a grower relying on one type of nozzle alone, even though every grower seems to have their own ‘favourite’.
As part of your equipment preparation for the season ahead, it’s probably worth reviewing the nozzles you draw from and think about whether broadening the range of spray characteristics available to you could help improve your coverage on certain crops or your ability to target particular pests or pathogens.
Our partners at Fargro or ICL could help you evaluate what’s available and what might be suitable in your situation.

